How to Convert a Blog Article into a Video
If you’ve been creating good blogs or articles for a while, converting your articles into videos is an excellent way to gain more from your content.

By Julia McCotter
Blogging is an integral part of how internet users share information. From food and travel blogs to corporate blogs, the platform is useful for people from all walks of life.
But did you know that it’s actually videos that make up the vast majority of shared content on the internet? In fact, 45% of people watch more than an hour of video content on Facebook or Youtube per week. While blogging is an amazing way to tell stories, share tips, and showcase your writing ability, if you’re not also creating videos you are missing a huge opportunity to disseminate your content.
The good news: if you’ve already spent time creating high-quality blog content, there’s no need to start from scratch. You can very easily repurpose your blog material to turn it into video content.
In this article, I will show you how to convert a blog article into a video for any social media platform using an online video editor called Kapwing. I recommend using Kapwing because it’s free with no watermark, easy to use, and web-based so you don’t have to download anything!
Outline and Storyboard Your Video
The first thing you’ll want to do is create an outline of your content. This is particularly easy to do when you’re repurposing a blog post, because the content should already be well-organized. Once you’ve made a basic outline with what information you want to present in your video, decide what you want it to look like visually.

Storyboard your video by determining what each “scene” should look like–for example, maybe the first section of your outline will include you speaking to the camera, and the second section will be an image of an infographic that was included in your blog post. It’s easy to add photos and graphics into your video, so don’t be afraid to incorporate these elements!
Shoot Your Video
Once you’ve created a good storyboard, it’s time to shoot your video! Be sure to record a test first to ensure that your audio is working well and that the lighting in the video is adequate. You don’t need to have an expensive camera or studio lighting–just make sure the video is well lit and there’s nothing distracting in the background.
I would recommend taking a new video clip for each section and re-recording clips if mistakes are made. This will make the editing process much easier because it will allow you to create a timeline in your editor very quickly!
Edit Your Video
Video editing is often a long and painful process, but it doesn’t have to be! You can edit your video quickly and easily in four steps. Your end product will be a professional short video that beautifully displays your content and can be shared across multiple social media platforms.
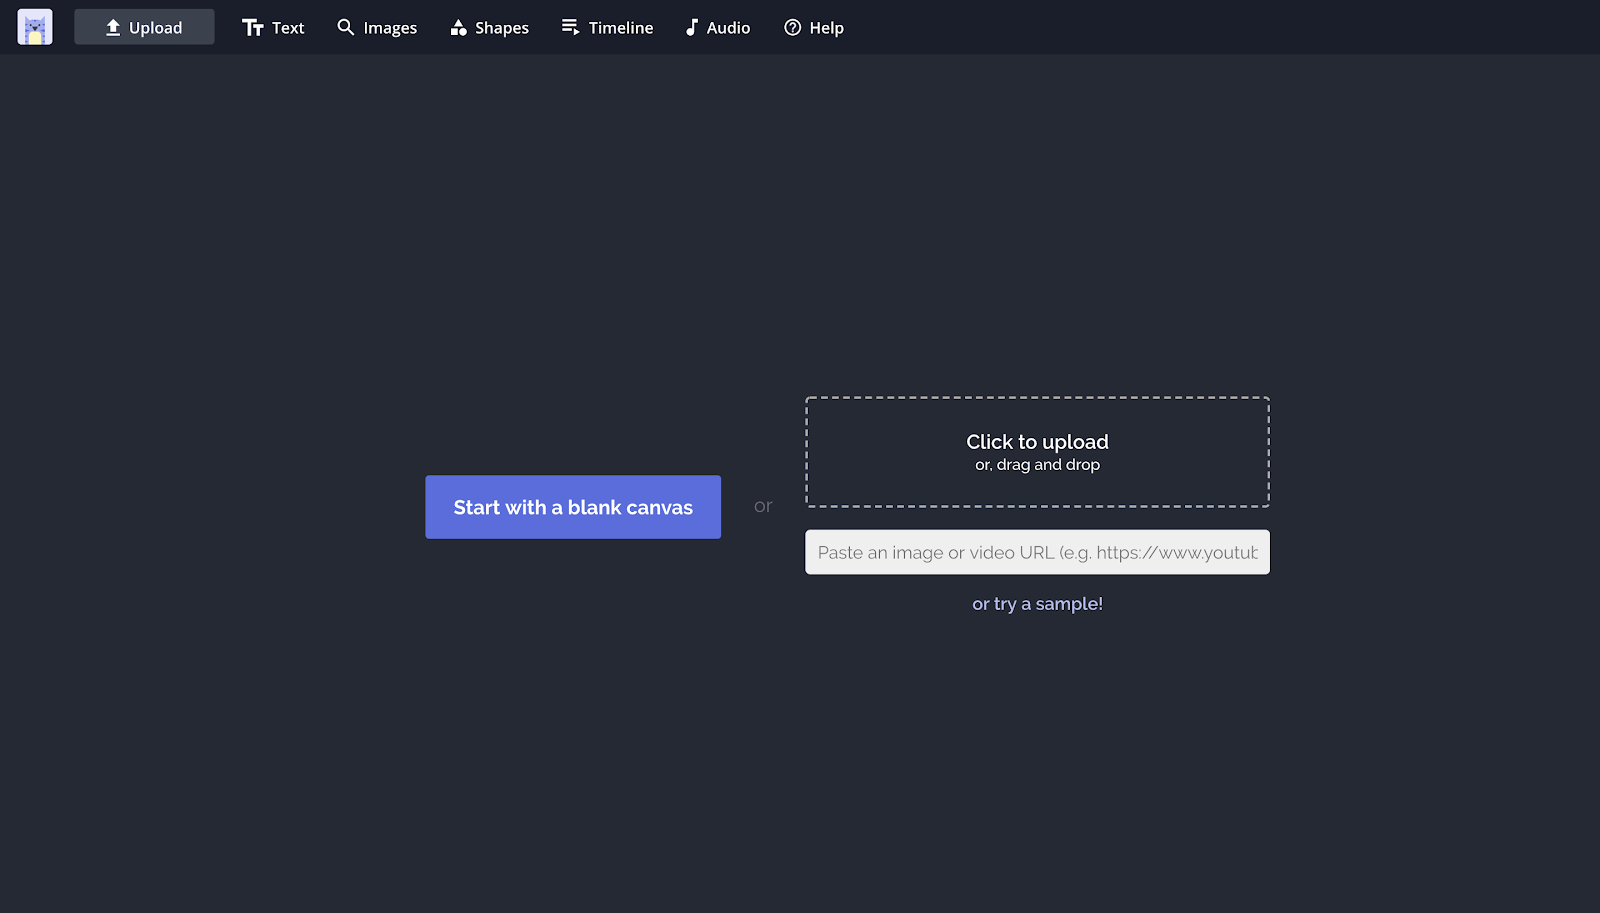
Step 1: Upload Video
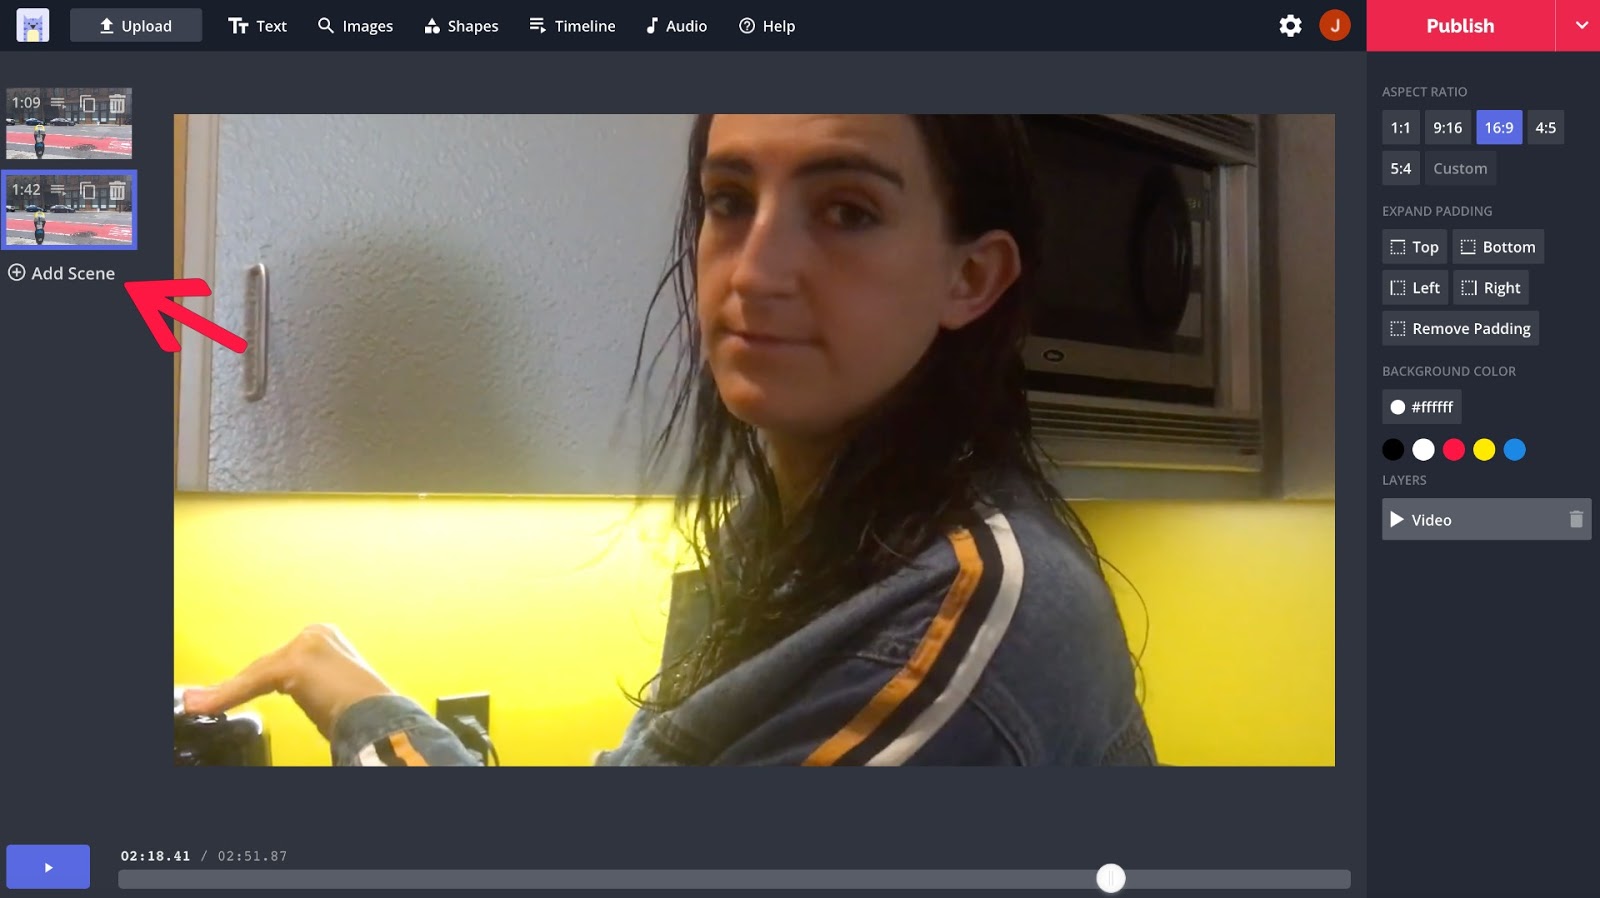
Start out by uploading your video clips into Kapwing Studio. Upload the first clip on the editor home screen:
Once the first clip has been uploaded, you will need to select “Add Scene” for each proceeding clip.
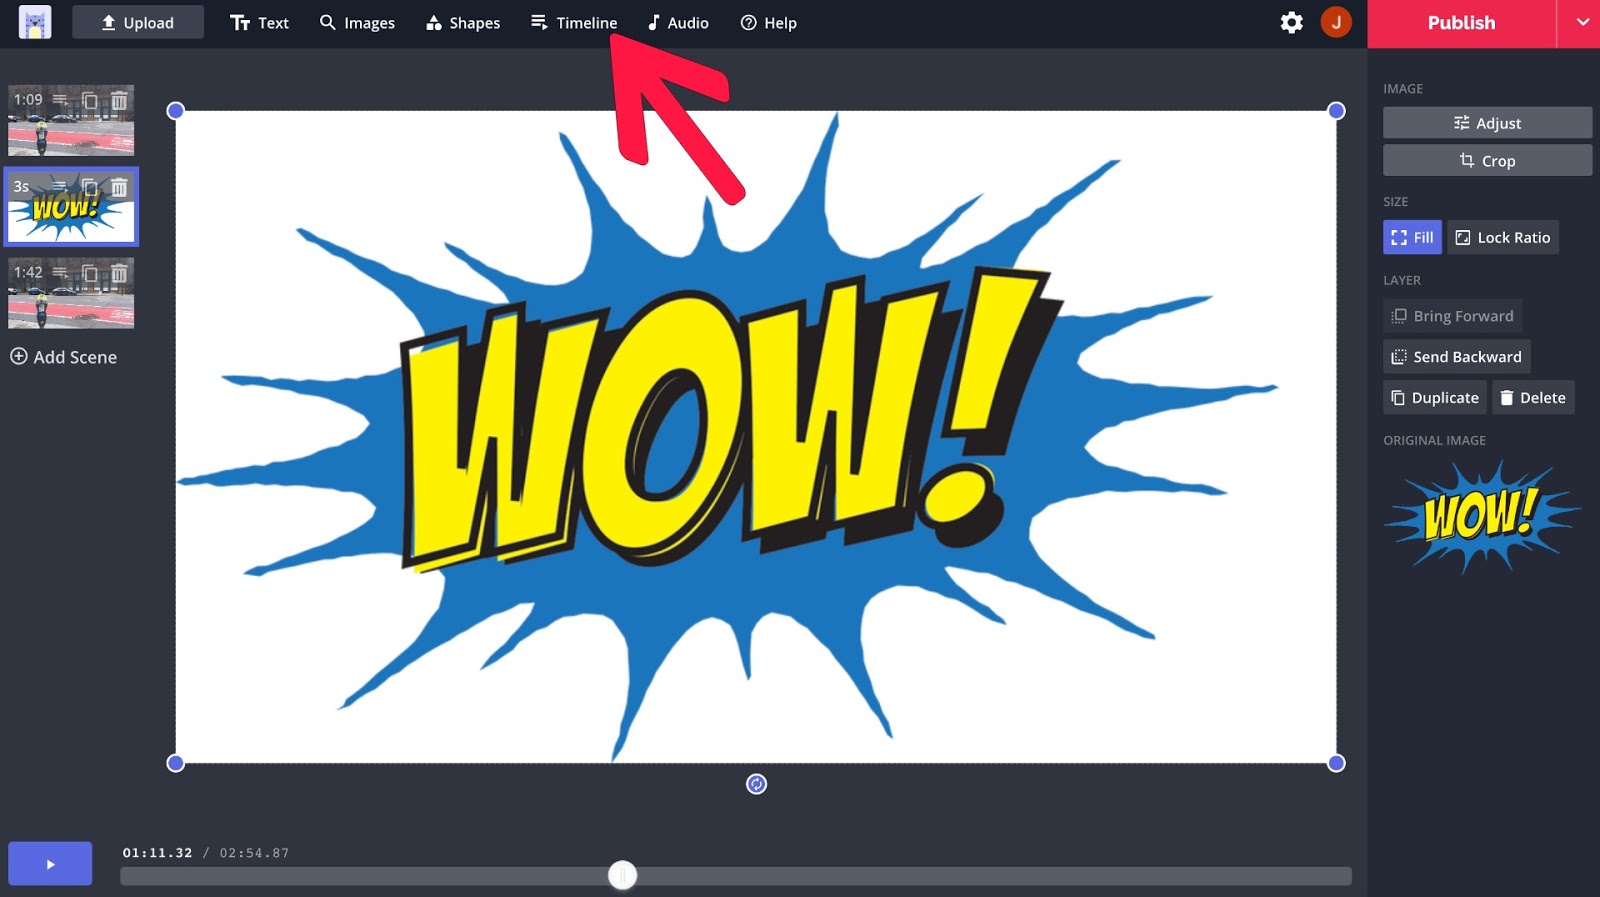
Step 2: Add in Images
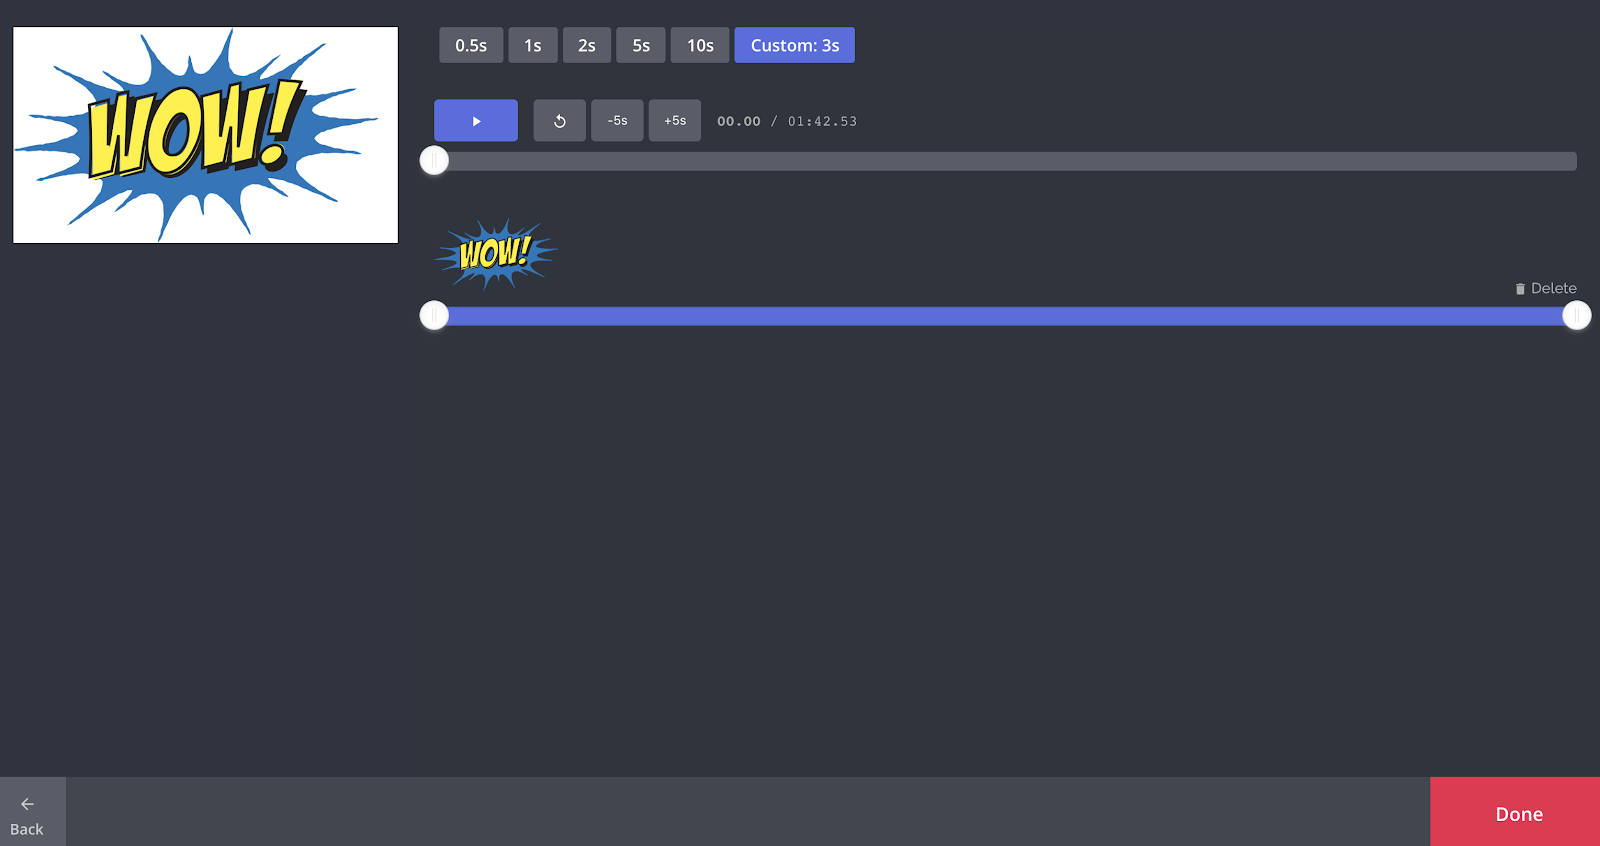
If you want to add in photos or infographics from your original blog post, you can add them as a new scene! Choose how long you want the image to stay on screen by selecting “Timeline” and selecting a number of seconds.
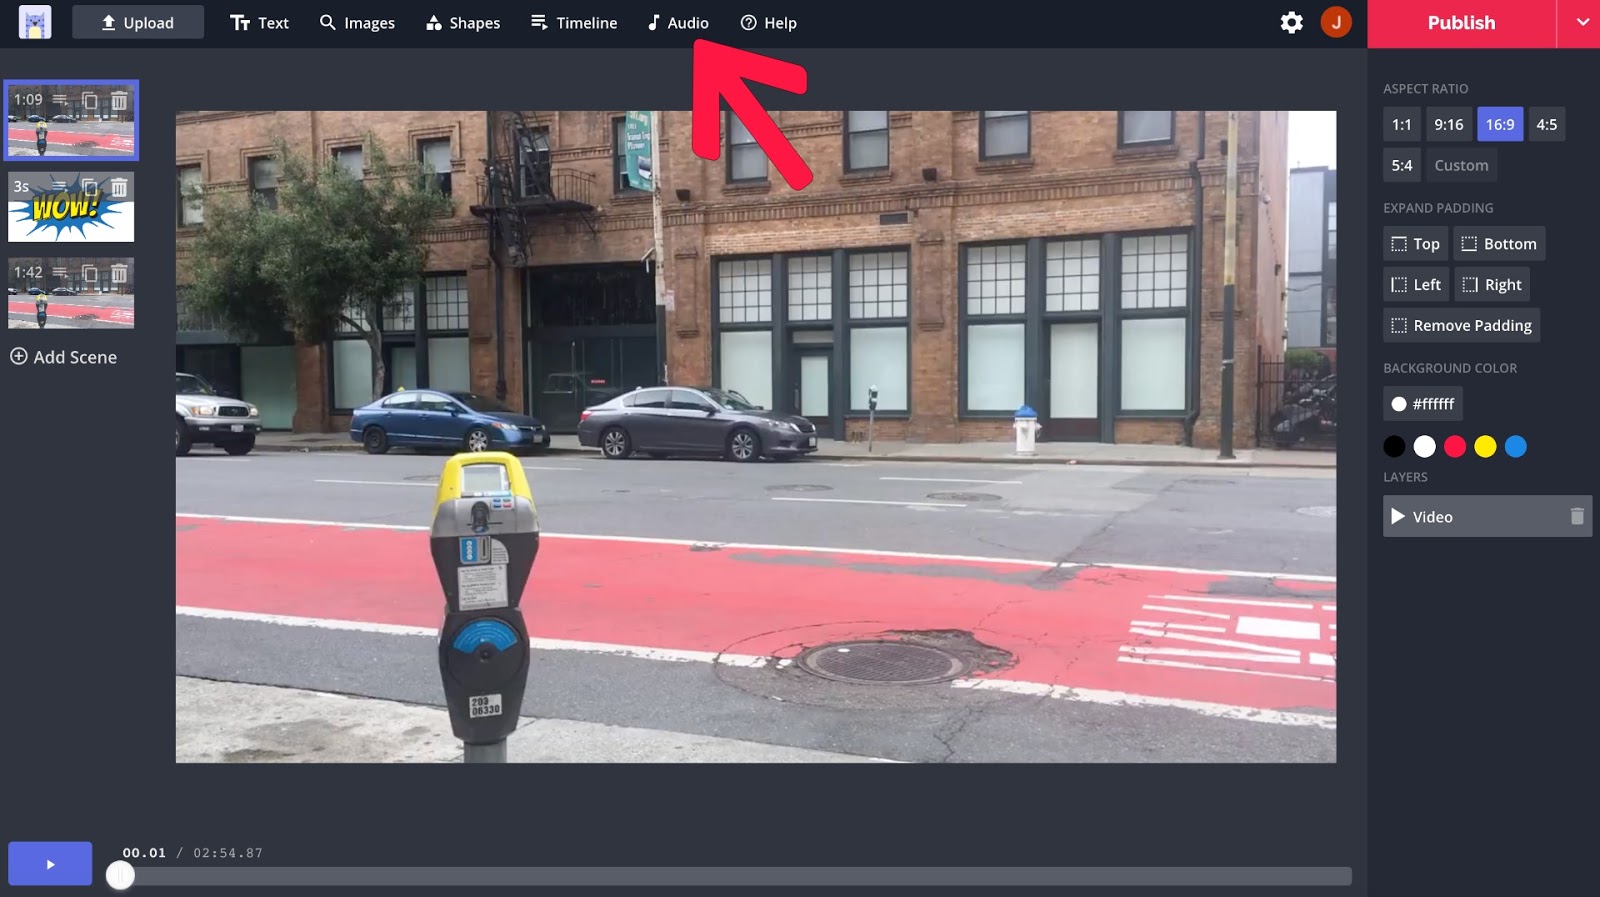
Step 3: Add/Edit Audio
Add in any additional audio that you’d like to have in your video by clicking “Audio.”
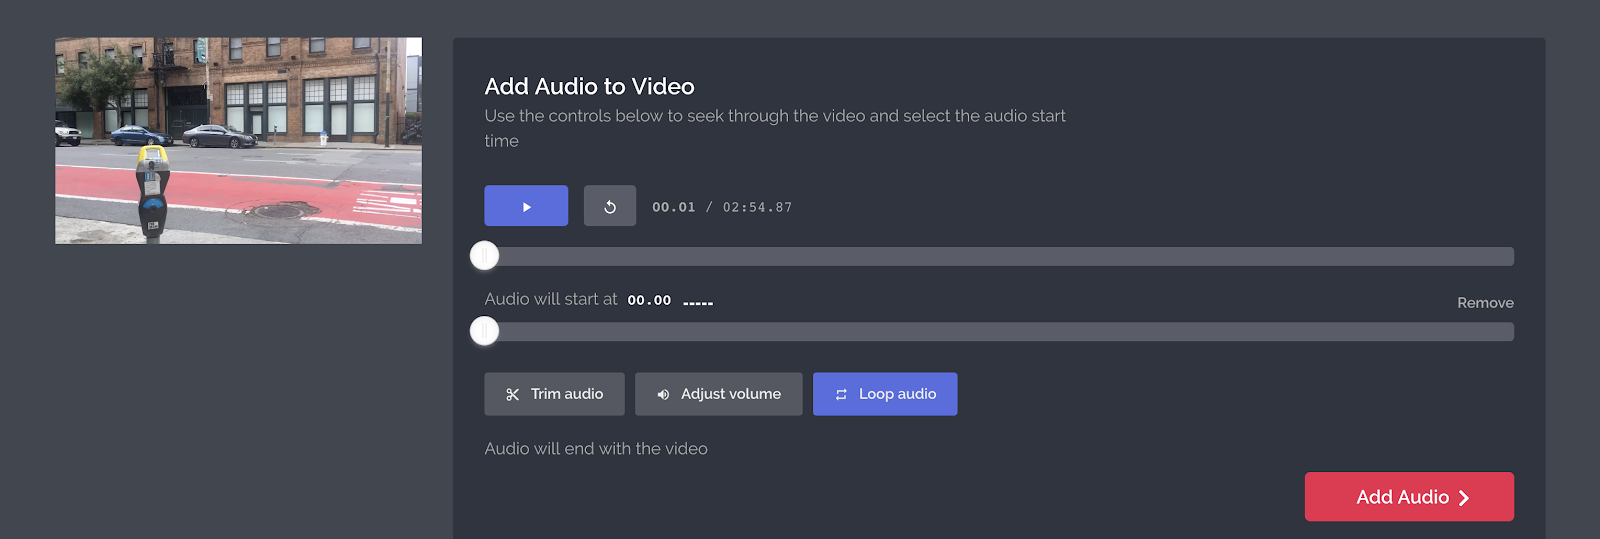
You can put music in the background or add narration to describe any images you inserted. Trim your audio so that it plays during the correct time in your video, and adjust the volume to make sure that it’s not too quiet or too loud.
Make sure that you’re not violating any copyright requirements if you’re going to be adding music to your video. You can easily find free public domain music if you search for it online.
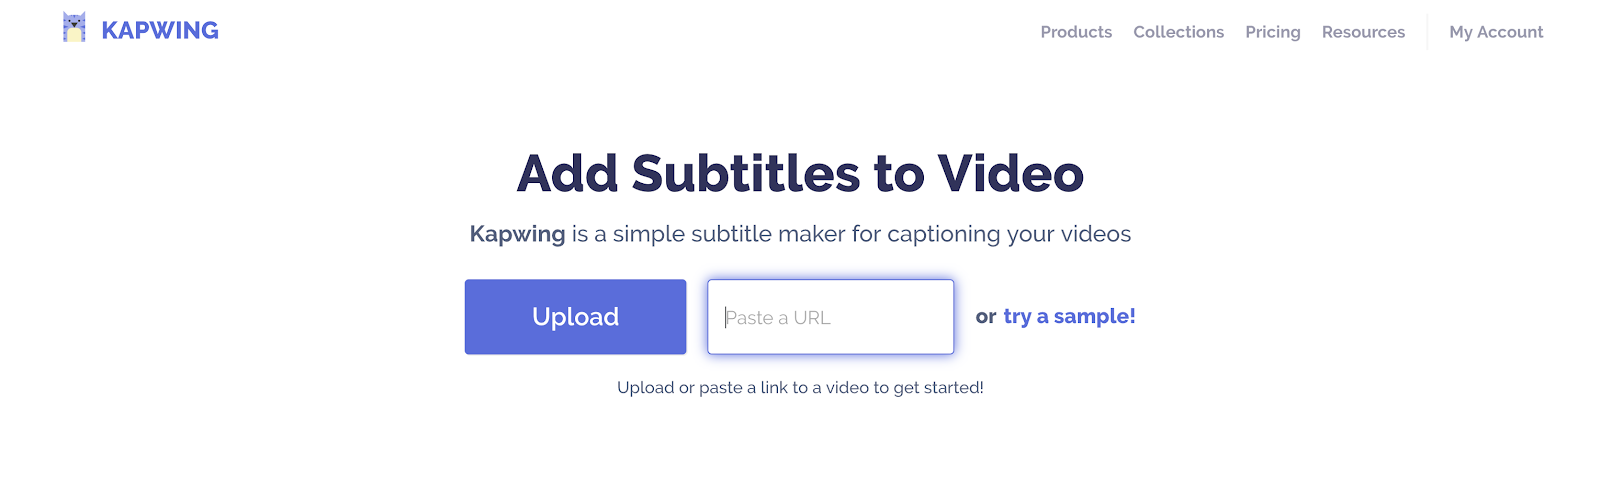
Step 4: Add Subtitles
The final step to edit your video is adding subtitles! Because about 85% of videos posted to social media are watched without sound, including subtitles will drastically increase the reach of your video. Subtitles hook in the viewer even when they’re watching your video on mute.
You’re much more likely to have people watch the entirety of your video if you include subtitles. Plus, they also make your video accessible to people who are deaf or hard of hearing, and those who don’t speak English fluently.
To subtitle your video first publish it and then upload it to the Subtitler.
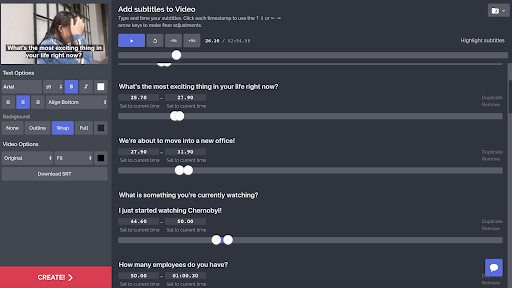
Next, you can type and time your subtitles! You can also choose how you want the text to look, and whether you want it to show up at the bottom or the top of the video.
Once you’re done adding subtitles, your video is ready to download!
Step 5: Resize for Social Media
Now that you’ve perfected your video, it’s time to share it with the world. You can resize the finished video to optimize it for all of the different social media platforms. Simply upload your video and select your new size.
For platforms with a smaller aspect ratio such as Instagram, you will need to decide whether you want to add padding so that your entire video is displayed, or if you’d rather just crop out part of the video.
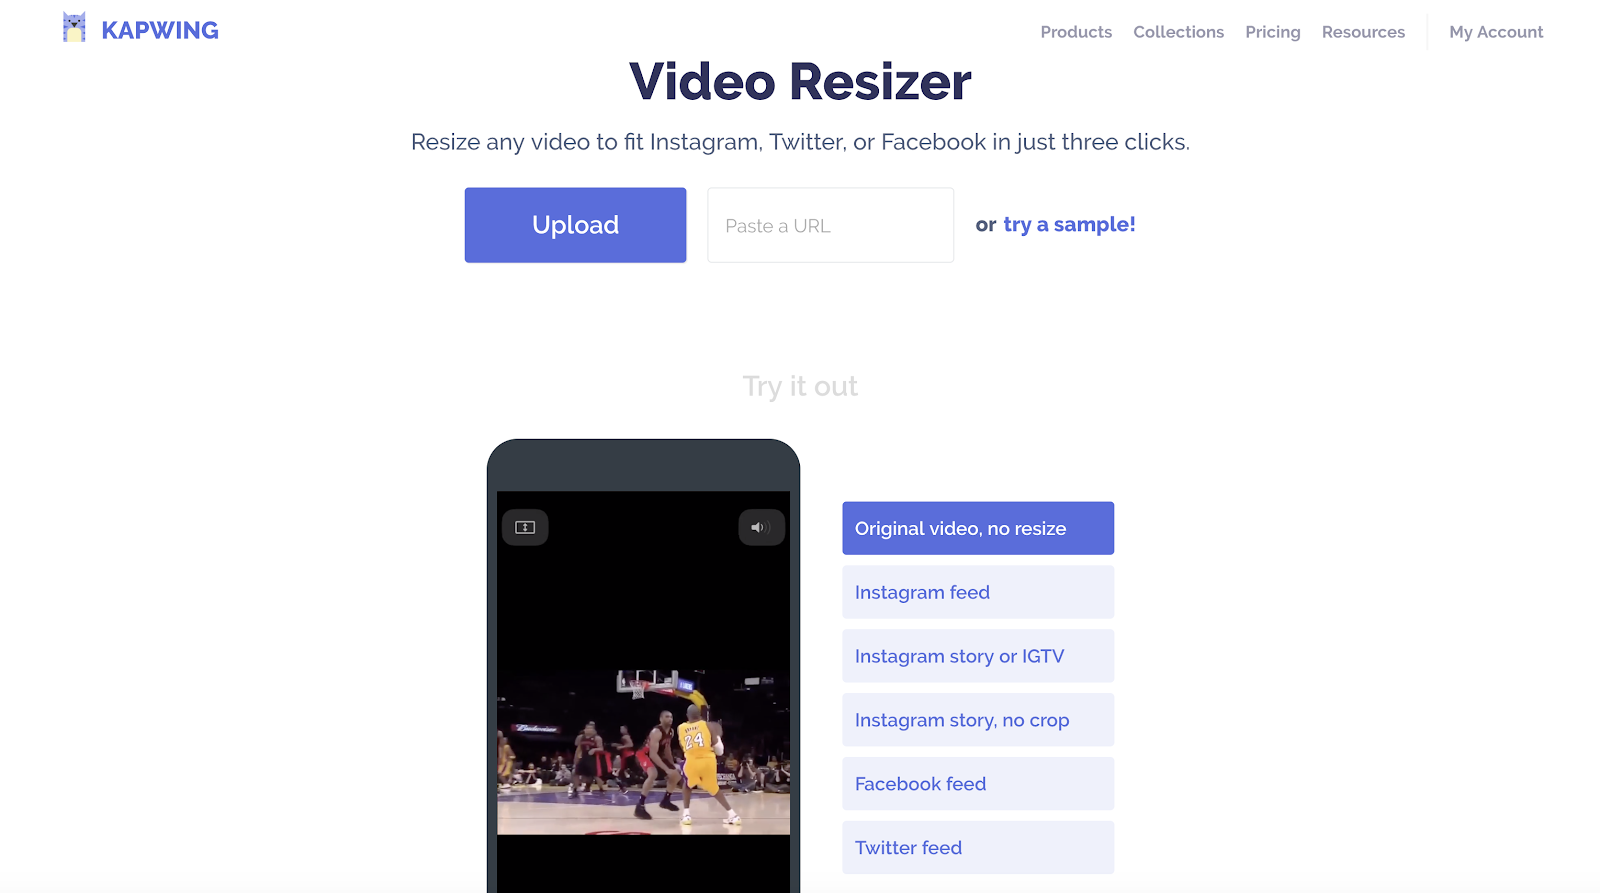
For your final product you’ll need to log in to remove the Kapwing watermark, but you can do so with a completely free account.
Conclusion
If you’ve been creating good blog content for a while, converting your articles into videos is an excellent way to make your content more social media friendly. Videos are easy to consume and great for the many different types of people that frequent social media.
By creating videos, you can put a human face to your brand, a voice to it, and connect with your audience in a completely new way. It can be nerve-wracking at first to get in front of the camera. But your words are still what matter most, and as a blogger you should already be comfortable sharing your words. Don’t be afraid to hit record!

Julia McCotter is a San Francisco-based Content Strategist, Marketer, and general Enthusiast. She works at Kapwing, a seed-stage startup in San Francisco that makes tools for casual creators. You can find her on LinkedIn, or at any bakery with a good cinnamon roll.
Really Simple Systems is now Spotler CRM
The same great technology, a CRM platform that is focused on the needs of B2B marketers, provided by the same great team, at a great price!